
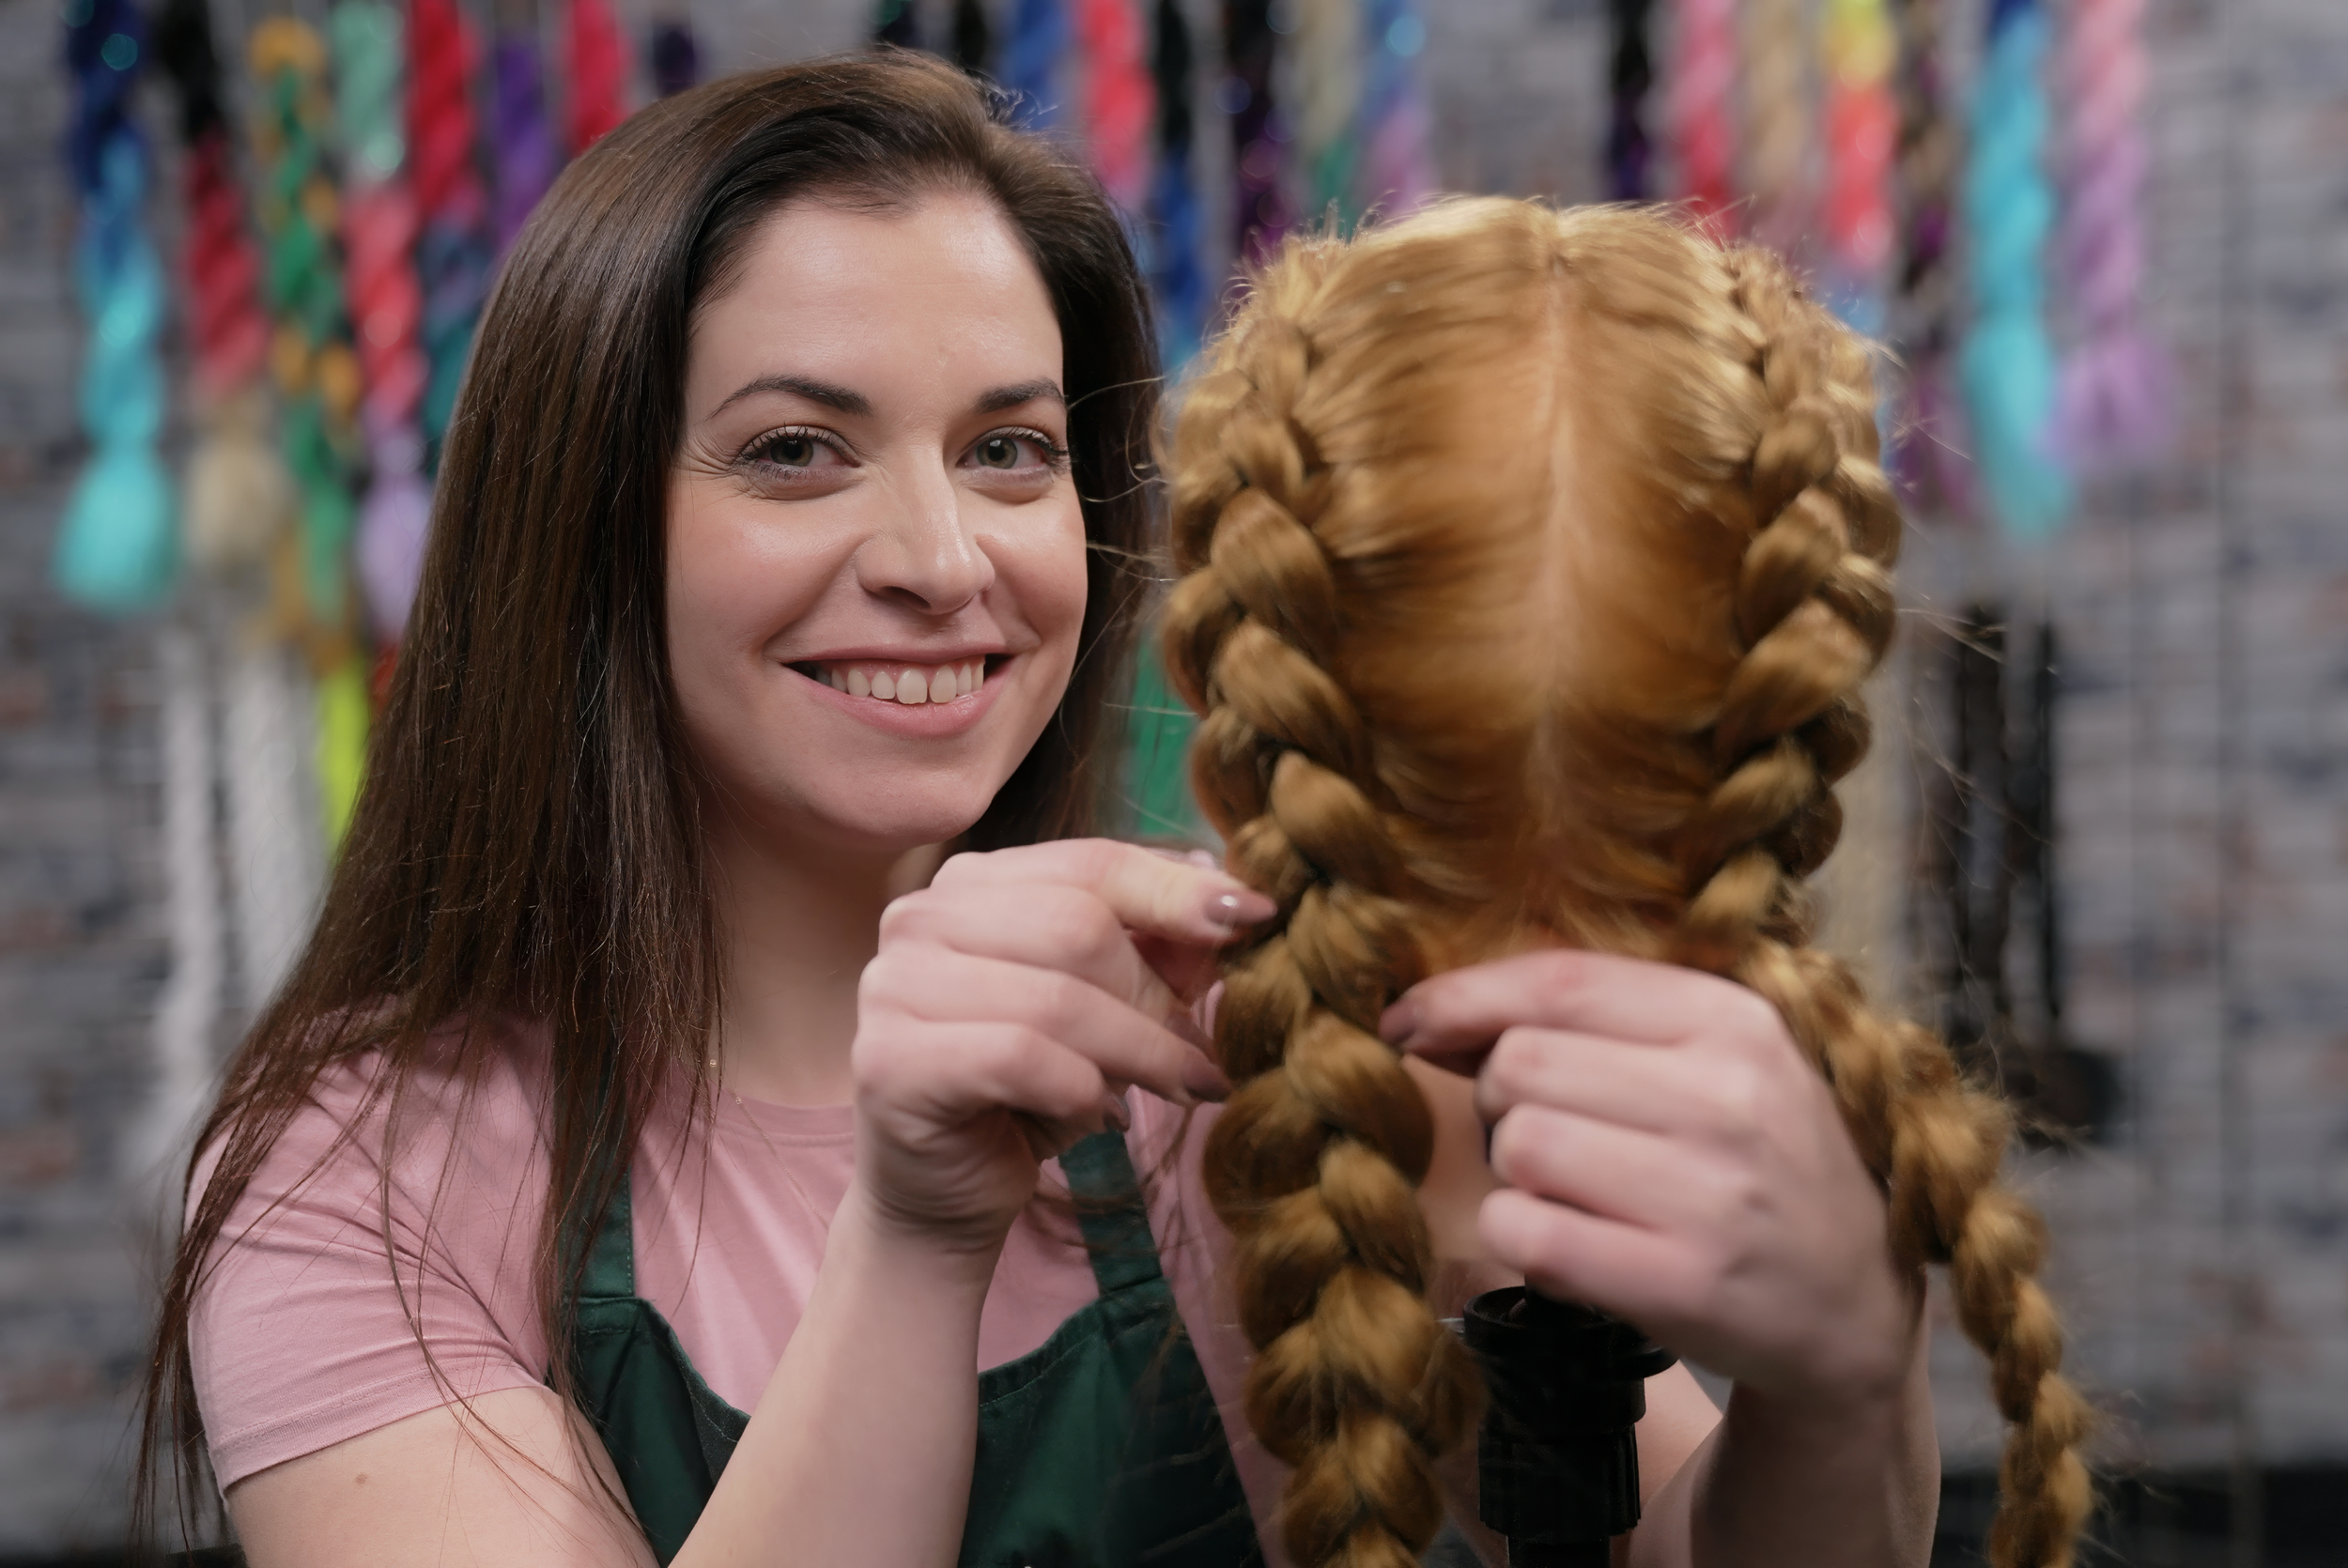
French Braid Digital Course
Learn Sarah’s signature technique for creating a French Braid in your own time and from the comfort of your own home. Follow Sarah’s step by step instructions and you will be able to braid with confidence, creating smooth and sleek French Braids.
Start your digital French Braiding journey now for only £14.99
-
-
-
Lesson 1: Braiding Tools for French Braid
Aside from the skill of braiding hair, there are different tools that can help you create smooth sleek French braids. Learn the different types and what are Sarah’s favourites.
Aside from the skill of braiding hair, there are different tools that can help you create smooth sleek French braids. Learn the different types and what are Sarah’s favourites.
-
-
-
-
Lesson 1: Why we prep with water
When starting to French braid, it is important that the hair is tangle free and slightly damp, so you can have some grip on the hair. Learn Sarah’s tips on getting the best base for your braids. In this lesson, you will learn the importance of adding water before you braid and why is it important to be aware of how fragile the hair is while braiding.
When starting to French braid, it is important that the hair is tangle free and slightly damp, so you can have some grip on the hair. Learn Sarah’s tips on getting the best base for your braids. In this lesson, you will learn the importance of adding water before you braid and why is it important to be aware of how fragile the hair is while braiding.
-
Lesson 2: Parting the hair
To achieve sleek Double French Braids, you need the perfect parting. Learn how to use the tail comb to get the best result. In this lesson, Sarah will show you her tips and tricks to get the cleanest and straightest middle parting possible.
To achieve sleek Double French Braids, you need the perfect parting. Learn how to use the tail comb to get the best result. In this lesson, Sarah will show you her tips and tricks to get the cleanest and straightest middle parting possible.
-
Lesson 3: Adding Hair Gel
A lot of people, especially children, have hair that can be a bit unruly. This is often referred to as ‘flyaways’, ‘wispy bits’ or ‘baby hairs’. Adding a hair gel to the hair before braiding can help keep these under control. Sarah will show you how to add the right amount to get smooth sleek French braids.
A lot of people, especially children, have hair that can be a bit unruly. This is often referred to as ‘flyaways’, ‘wispy bits’ or ‘baby hairs’. Adding a hair gel to the hair before braiding can help keep these under control. Sarah will show you how to add the right amount to get smooth sleek French braids.
-
-
-
Lesson 1: How to start the French Braid
Remember when we learnt to do a 3 strand plait in Chapter 3? That is what we need to do now to start the French Braid. In this lesson, Sarah will show you how to position your fingers in the hair to be able to start the braid without any hassle.
Remember when we learnt to do a 3 strand plait in Chapter 3? That is what we need to do now to start the French Braid. In this lesson, Sarah will show you how to position your fingers in the hair to be able to start the braid without any hassle.
-
Lesson 2: How to add the hair in
Once you have started, we come to the point where we will be adding additional hair into the braid to create the signature French Braid style. Learn Sarah’s signature ‘Twist & Middle’ technique to get sleek braids all the way down the length of the hair. In this lesson, Sarah will show you her signature ‘Twist & Middle’ style for adding hair into the Braid without getting the hair tangled.
Once you have started, we come to the point where we will be adding additional hair into the braid to create the signature French Braid style. Learn Sarah’s signature ‘Twist & Middle’ technique to get sleek braids all the way down the length of the hair. In this lesson, Sarah will show you her signature ‘Twist & Middle’ style for adding hair into the Braid without getting the hair tangled.
-
Lesson 3: Curving the Braid around the ear
Now you have added some hair into the French braid at the top of the head, we need to ensure that the braid keeps in line with the contour of the scalp without creating any gaps or ‘bags’. Learn how to Curve the Braid around the ear using Sarah’s pinwheel theory. In this lesson, Sarah will teach you the simple technique to curve the braid around the ear using the pinwheel theory.
Now you have added some hair into the French braid at the top of the head, we need to ensure that the braid keeps in line with the contour of the scalp without creating any gaps or ‘bags’. Learn how to Curve the Braid around the ear using Sarah’s pinwheel theory. In this lesson, Sarah will teach you the simple technique to curve the braid around the ear using the pinwheel theory.
-
Lesson 4: Avoiding the baggy bottom
At the nape of the neck it can be hard to stop the French braid becoming loose. This is also known as the ‘baggy bottom’. Here you will learn the tips and ticks to avoid this from happening. In this lesson, Sarah will show you how to grab hair from the other side of the braid, pull it under the braid and over into the middle finger. This top tip will keep the French braid tight and avoid it becoming loose and baggy.
At the nape of the neck it can be hard to stop the French braid becoming loose. This is also known as the ‘baggy bottom’. Here you will learn the tips and ticks to avoid this from happening. In this lesson, Sarah will show you how to grab hair from the other side of the braid, pull it under the braid and over into the middle finger. This top tip will keep the French braid tight and avoid it becoming loose and baggy.
-
-
-
Lesson 1: The Other Side
Some people believe that when you braid the other side of the head, your technique has to be mirrored. This simply isn’t true. Learn how to start the braid on the other side the same way you have just learnt, so both braids turn out looking great. In this lesson, you will learn how to start the braid on the other side of the head without having to mirror the technique you have just learnt.
Some people believe that when you braid the other side of the head, your technique has to be mirrored. This simply isn’t true. Learn how to start the braid on the other side the same way you have just learnt, so both braids turn out looking great. In this lesson, you will learn how to start the braid on the other side of the head without having to mirror the technique you have just learnt.
-
-
-
Lesson 1: Finishing the French Braid
To get the best out of your braid style, let's finish it in the best way possible by adding products that will help keep the braid looking its best of the longest time. In this lesson, you will learn what products are best to keep your braids looking their best for as long as possible.
To get the best out of your braid style, let's finish it in the best way possible by adding products that will help keep the braid looking its best of the longest time. In this lesson, you will learn what products are best to keep your braids looking their best for as long as possible.
-
-
-
Lesson 1: The Tail Comb
Another way to achieve smooth French Braid lines is with using a Tail Comb. Learn how to hold the comb against the head to achieve the best braid lines. In this lesson, you will learn the proper technique of holding a tail comb in both right and left hands to pull hair into the French braid.
Another way to achieve smooth French Braid lines is with using a Tail Comb. Learn how to hold the comb against the head to achieve the best braid lines. In this lesson, you will learn the proper technique of holding a tail comb in both right and left hands to pull hair into the French braid.
-
Lesson 2: Braid Rings
Another way to achieve smooth French Braid lines is with using a Braid Rings. Learn how to wear the Braid Rings to achieve the best French braid lines. In this lesson, you will learn how to wear the braid rings on different fingers on both right and left hands so you can pull the hair into the braid with the smoothest lines.
Another way to achieve smooth French Braid lines is with using a Braid Rings. Learn how to wear the Braid Rings to achieve the best French braid lines. In this lesson, you will learn how to wear the braid rings on different fingers on both right and left hands so you can pull the hair into the braid with the smoothest lines.
-
-
-
Lesson 1: Maintaining the French Braid
When braids are done right, they can last all week, and these tips will help them look as sleek as day 1. In this lesson, you will learn the different techniques to keep your French braids looking smooth for days.
When braids are done right, they can last all week, and these tips will help them look as sleek as day 1. In this lesson, you will learn the different techniques to keep your French braids looking smooth for days.
-
-
-
Lesson 1: And there you have it!
Congratulations on completing this online digital French Braid course teaching you how to do a French Braid using Sarah’s signature ‘Twist & Middle’ technique. In this lesson, Sarah will tell you a bit more about herself and encourage you to share your practice photos with her.
Congratulations on completing this online digital French Braid course teaching you how to do a French Braid using Sarah’s signature ‘Twist & Middle’ technique. In this lesson, Sarah will tell you a bit more about herself and encourage you to share your practice photos with her.
-
-
-
BONUS LESSON: Level up your Braid game - Boho French Braid
Now you can do a French Braid, let's level up your new skill and create a different look using the same basic technique. Learn how to create a ‘Boho French Braid’ for an elevated look.
Now you can do a French Braid, let's level up your new skill and create a different look using the same basic technique. Learn how to create a ‘Boho French Braid’ for an elevated look.
-

Sarah Eaton, Teacher & Bonnie Braids Founder
What you will learn
This French Braid course breaks things down into simple, small, manageable parts so you never feel overwhelmed. As you progress, and the more you practice, your skills will sharpen and your self-assurance will grow.
Build Your Confidence
Each lesson is designed to equip you with useful tips and tricks you can immediately put into your own practice. It’s about learning with purpose and seeing real results.
Gain Practical Insights
Braiding is a skill that most people know of, and we all learn in different ways. By breaking down the basics of this technique, you will learn to approach it with fresh eyes. This French Braid digital course is about learning good habits that will improve with practice.
Learn New Approaches
Whether you are a complete beginner or someone looking to improve your skills, you will solidify the basics so that you can create sleek, tight, smooth French Braids anywhere. Once you have mastered the key elements, you will be able to turn your hand to other variations of this braid style.
Strengthen Your Foundation
Explore our other digital courses
Learn Sarah’s signature technique for creating a Dutch Braid in your own time and from the comfort of your own home. With 10 manageable chapters, follow Sarah’s step by step instructions and you will be able to braid with confidence, creating smooth and sleek Dutch Braids.
Get anytime access to our French and Dutch Braid Digital Course. Learn Sarah’s signature technique for creating a French and Dutch Braid in your own time and from the comfort of your own home. With 10 manageable chapters, follow Sarah’s step by step instructions and you will be able to braid with confidence, creating smooth and sleek French and Dutch Braids.
As Featured In

